Table of Contents: Outdoor Lighting Installation
- DIY Landscape Lighting Installation
- How to Install Landscape Lighting
- FAQs on Landscape Lighting Installation
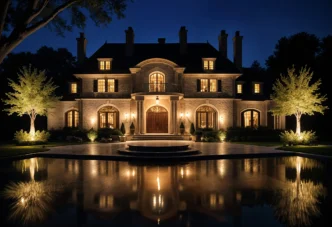
Taking on landscape lighting installation is a surefire method to sharpen curb appeal and add a degree of safety and security. While designing an outdoor lighting system affords you the opportunity to explore the most uncharted, imaginative corners of your creativity, actually installing a landscape lighting system lets you showcase it all on your natural canvas. Prepare to give your wildest lighting ambitions a pulse with this easy and detailed step-by-step guide.
DIY Landscape Lighting Installation
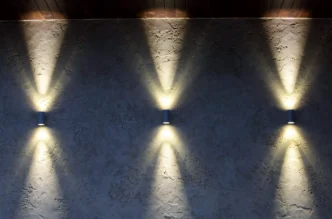
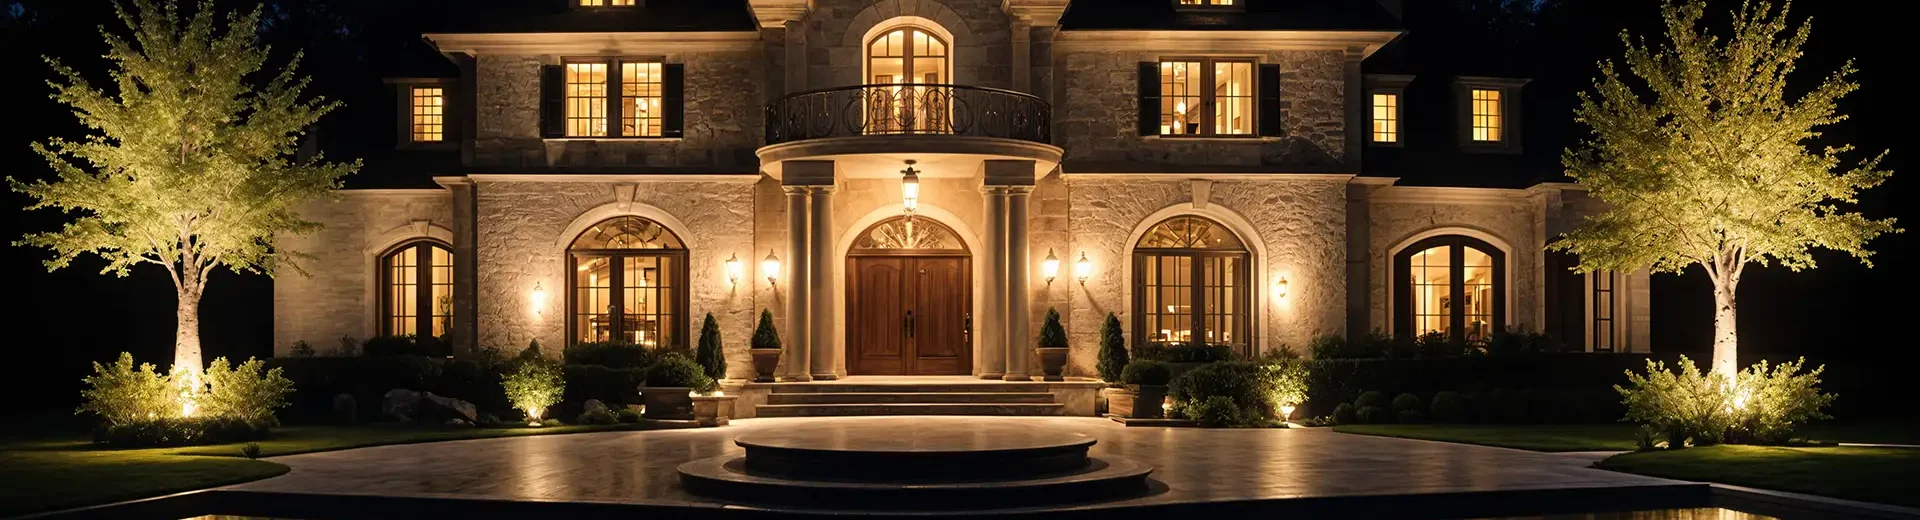
Fashioned along walkways, steps, and driveways, or directed up at trees, walls, and fences, a low-voltage landscape lighting system typically requires three elements: a transformer, fixtures, and low-voltage wire. You don’t have to be comfortable or have experience with wiring to install this type of system. Because the typical landscape lighting system operates on only 12 volts of electricity, it’s completely safe for do-it-yourself installation. Digging shallow trenches for the low-voltage cable might result in some sweat, but installing and adjusting the light fixtures is a mere stone’s throw from effortless.
Tools You’ll Need
Lighting Warehouse is armed with a wealth of lamps, fixtures, and transformers to make your home the toast of the block, but to get it done—and get it done right—you’ll need a few of these lighting tools.
- Wire stripper—Make sure to find a solid, durable wire stripper, as you’ll be using this often when installing lighting. You can even find some that automatically gauge wire diameter, so you’ll never need to worry about stripping any interior wire from the bundle.
- Wire and edging trencher—This specialized, flat shovel allows you to dig shallow trenches for wiring (about 6” to 8” deep). Using a trencher will not only speed along the installation process but also make the process easier as you won’t be exerting energy digging any deeper than needed.
- Wire connectors—Though a vast majority of lighting warehouse products come pre-packaged with low-voltage wire connectors, it’s good practice to keep extra on-hand.
- Crimp tool—These are used to combine the individual wires you’ve exposed during stripping so the connection can solidify and adequate electrical current can navigate through the fixture(s). To make things easier, we recommend King Innovation’s all-in-one stripper, cutter, crimper tool.
- 6-in-1 screwdriver—Using a screwdriver with multi-use tops that fit all the standard screw variations can reduce the number of trips back and forth to your shed or toolbox.
- Power drill—Though not mandatory, using a power drill to mount fixtures to a surface can expedite the process, adding time to your day while subtracting stress from your installation experience.
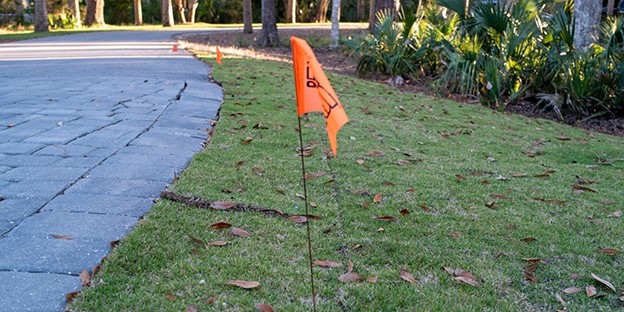
- Marking flags—Using obvious indicators to identify existing cable or irrigation lines prevents wasted time and money.
How to Install Landscape Lighting
Time needed: 4 days
Knowing the process of landscape lighting installation will be an invaluable asset, especially when conducting landscape lighting maintenance. You can easily fix earlier mistakes and improvements yourself, all while ensuring your outdoor space has the curb appeal lighting that makes neighbors and passersby envious of your home.
Order your Items from Lighting Warehouse and, once you’ve received them, you’re ready to begin your install. Time estimate is based on one day for planning and researching fixture styles (One day for ordering parts with another two days for a DIY install on an 7,000 sq ft lot. Time estimate will vary based on project.)
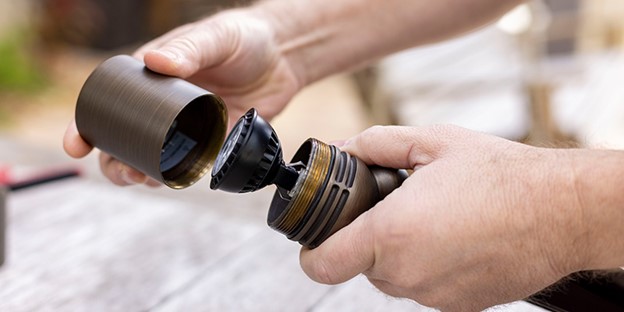
- Assemble the Fixtures
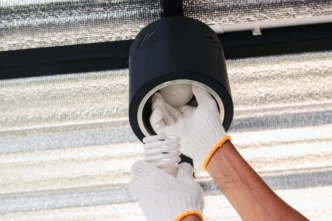
a) Unpack and remove everything from the box, installing bulbs in any lamp-ready fixtures. Check out our guide on bulb lighting outdoors to find the right bulbs for your system.
b) Attach mounts to fixtures using any of the three mounting procedures.
Stake mounting: Stake attaches to the fixture before being placed directly into the ground
Surface mounting: Fixture attaches to a hard surface, normally with a power drill
In-ground mounting: Fixture mounts directly into the earth
- Mark Cable and Irrigation Lines
Use marking flags to indicate existing irrigation or wires so they aren’t compromised during the installation process. You can remove these after the landscape lighting installation is done, but if you’re conducting maintenance throughout the year, it might be best to keep them in the ground to serve as a reminder of where existing lines are located when thinking about repair or expansion plans.
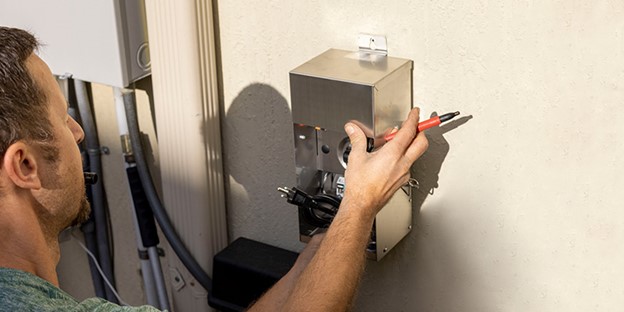
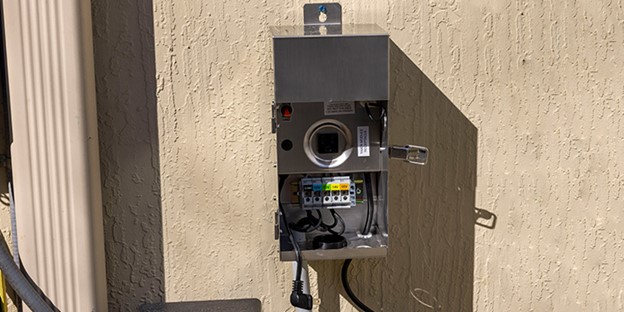
- Mount the Transformer
When choosing your transformer’s location, it’s imperative to bear in mind a few things:
1. It must have one foot of clearance in every direction.
2. It must be at least 30 feet away from water features.
3. It must be on a surface that can survive the heat it produces.
Find the right unit to fit your needs with our guide on finding the ideal low-voltage landscaping lighting transformer. - Position Fixtures and Wiring
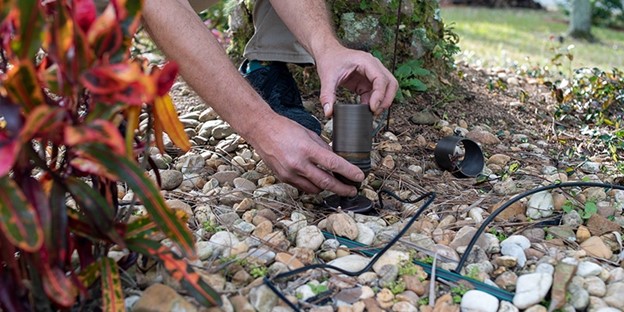
a) Clear a path for your wire runs and place your fixtures based on the project map from your planning Stage. Remember to space path lights about 8 to 10 feet apart, with the first fixture positioned at least 10 feet from the transformer.
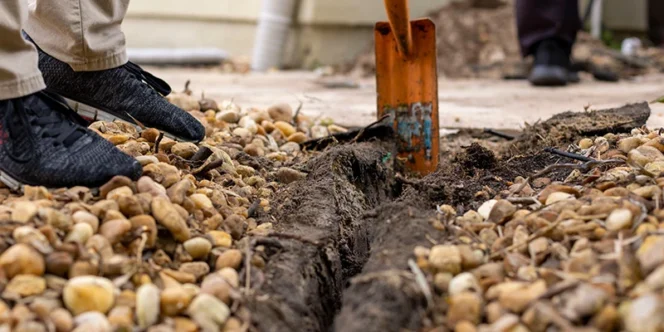
b) Once the fixtures are set, lay the low-voltage wire along the line of light fixtures. If you encounter an obstacle, such as a fence or a shrub, string the wire under or around it. - Dig Trenches/Turn over the Sod
a) Move the light fixtures out of the way then take your edging trencher and sliding underneath the top layer of grass. If setting path lights, you’ll want to place the trencher about a foot in from the edge of the walkway.
b) Lift up on the handle to separate the grass from the soil then fold over this scalped portion of sod, continuing the process along the entirety of the walkway.
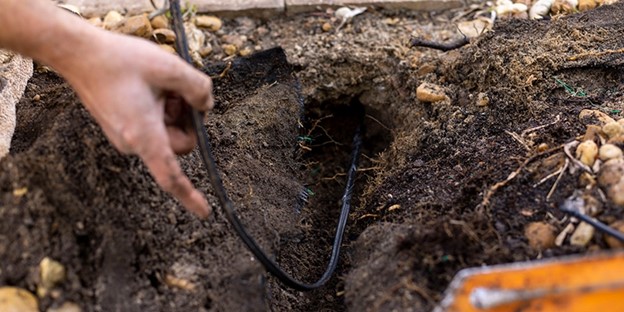
c) Using the corner of the shovel’s blade, scratch a 6-inch-deep trench in the soil where the wire will be placed.
ProTip: If necessary, set the light fixtures on top of the folded sod to prevent it from flopping back down. - Bury the Wire
a) Set the low-voltage electrical wire in the trench. Leave about 5 inches of excess wire at each fixture point for connections and potential adjustments.
b) Smooth the soil over the trench, leaving the wire sticking up out of the soil near each fixture.
c) Cut a slit in the detached sod where the fixture will sit and fold the sod back over the soil, keeping the cable for each fixture above the grass.
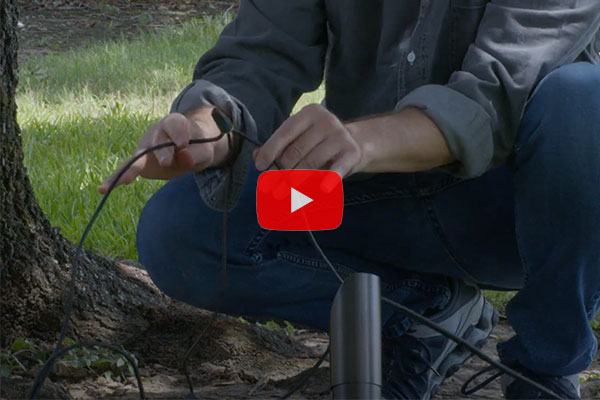
Pro-Tip: Be sure not to bury the wire below 6 inches or you’ll have difficulty connecting the light fixture. - Connect Transformer to Main Wire Runs
a) Run the cable up to your outdoor electrical outlet.
b) Use wire strippers to cut the cable and strip off ½ inch of the rubber insulation.
c) Slide the stripped wires under the two terminal screws that should be located on the bottom of the transformer before tightening the screws completely to secure the cable in place.
d) Once you’ve confirmed the cable is confidently in position, drive a wood stake into the ground next to the outlet then screw the transformer to the stake. You can also mount the transformer directly to the wall of the house.
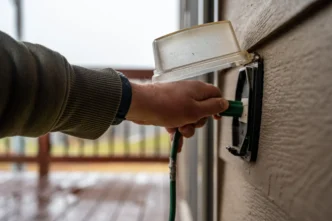
e) After you’ve verified the transformer is mounted, plug in the transformer. - Connect Fixtures to Main Wire Runs
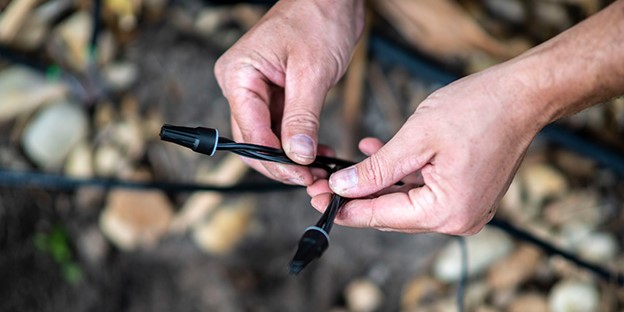
Connecting fixtures to your main runs can be easily accomplished by two splicing methods: twist-on and clamping. The former, twist-on, is the most common method for fixture connections. These connections are done by stripping the last half inch of wire at each end then twisting them together in a clockwise direction. Once twisted, simply insert the connection into the cap and twist clockwise until the wire begins to spin in tandem with the cap.
Clamping, on the other hand, involves clamp connect junctions. Simply invert the stripped wire ends into the terminal, push down the lever, and close the housing to safeguard the connection from moisture and corrosion.
If you’re dealing with a bundle of fixtures, consider using a hub. A hub offers easy connection for multiple fixtures in a single location and can either be buried underground or stake-mounted. - Test and Adjust
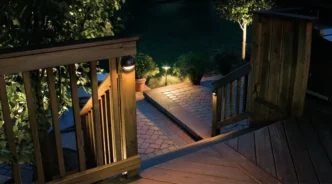
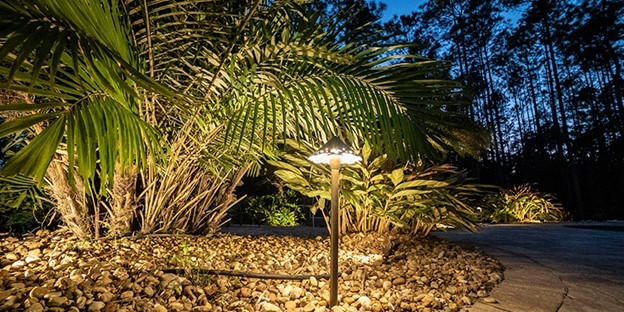
Once your connections are complete, it’s time to test your system. Power on your transformer, then scour your property for any inconsistencies or system failures. We recommend performing this task at night to get the full lighting effect. If one or more lights are out, which isn’t unusual, you may have a bad connection. In the event this happens, feel free to contact the pros at Lighting Warehouse for assistance to get the glow. Don’t procrastinate this step, as a burned-out bulb that isn’t promptly replaced will shorten the life of the other bulbs. You can even take it one step further by learning how to use a multimeter, which can help you diagnose any electrical issues stemming from your installation.
If every fixture is beaming to your satisfaction, manipulate the lighting directions according to your predetermined design. Be sure to keep an eye out for glare bouncing off your fixtures. To remedy glare overload, simply adjust the angle of the fixture or its glare-reducing shroud. - Bury Remaining Wire and Program Timer
a) Once the lights are in iron-smooth operation and positioned in step with your landscape lighting vision, bury the excess wire 6 inches below the sod, then level the sod surrounding the fixtures. If necessary, use a shovel to cut the sod around the fixtures.
b) After the sod is firmly pressed and/or carved out, use a garden hose to soak the area with water.
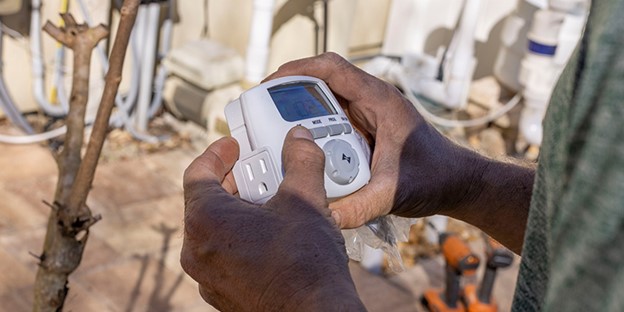
c) Customize your transformer timer to correspond with your schedule so that the correct lights shine at the correct times.
Congratulations on successfully installing your very own landscape lighting system. If your installation journey didn’t pan out as you hoped because a few hiccups or a faulty part, give yourself credit for the attempt. We realize that, while installing an entire landscape lighting system is doable, it’s not a one-size-fits-all ordeal. For questions or assistance of any kind, please don’t hesitate to contact our expert, above-and-beyond customer service team at 855-444-8424 for extra guidance.
FAQs on Landscape Lighting Installation
Expect to spend 8 to 10 hours installing an average-size landscape lighting system, though factors such as property size, fixture quantity, and terrain can shorten or extend the installation process.
Never use an extension cord or indoor outlet when installing landscape lights. If your home doesn’t contain a GFCI-protected outdoor electrical outlet nearby, it’s advantageous to hire a licensed electrician to install one before performing any DIY landscape lighting installation.
In accordance with National Electric Code (NEC) guidelines, direct burial wire is approved to be run in the earth without the use of a conduit to surround it. The thickness and material of the wire’s insulation protects the wire from moisture and other harmful influences.
Performing your own landscape lighting installation easily saves you money. The money saved by installing bulbs and fixtures yourself can be put towards other worthwhile investments, such as high-performance transformers or even more fixtures to better light other parts of your space. To make things even easier, you can also choose landscape lighting kits, which have everything you need to get started.
Aside from the aesthetic upgrade, taking on landscape lighting installation is an investment for the future value of your home. Well-placed lights that highlight notable features of your lawn, backyard, and home all contribute to curb appeal lighting, which can raise the value of your home and make it even easier to sell when you decide to put it on the market.