Table of Contents: How to Design Landscape Lighting
- Outdoor Landscaping Lighting Design: Where to Start
- Landscape Lighting Basics: Crash Course
- How to Design a Landscape Lighting System
- Landscape Lighting Wiring Methods
- Landscape Lighting Design FAQs
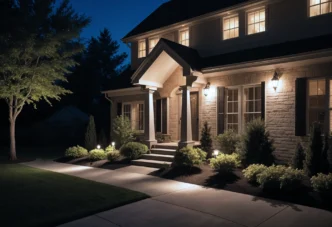
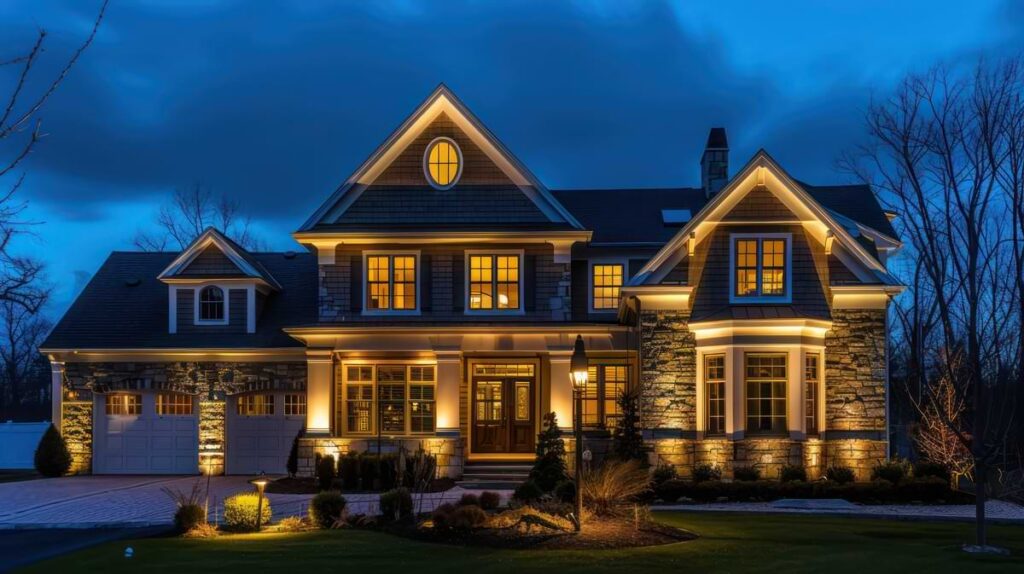
You’ve invested time and money to raise the curb appeal bar for the rest of your neighbors—why let that hard work disappear after sunset? With some careful planning, you can roll back the darkness through highlighted architectural features and directed illumination toward prized gardens, plants, and trees, leaving nighttime passersby visually bewitched. Before you start haphazardly buying fixtures and wiring, it’s imperative that you first design a landscape lighting system to synchronize your vision with what your property and your budget can realistically handle. Are you ready to make your yard really shine?
Outdoor Landscaping Lighting Design: Where to Start
What are your landscape lighting goals? Deliberate whether you aim to entertain, heighten safety for residents and guests, upgrade security against potential criminal activity, increase property value with enticing visual appeal, or all the above.
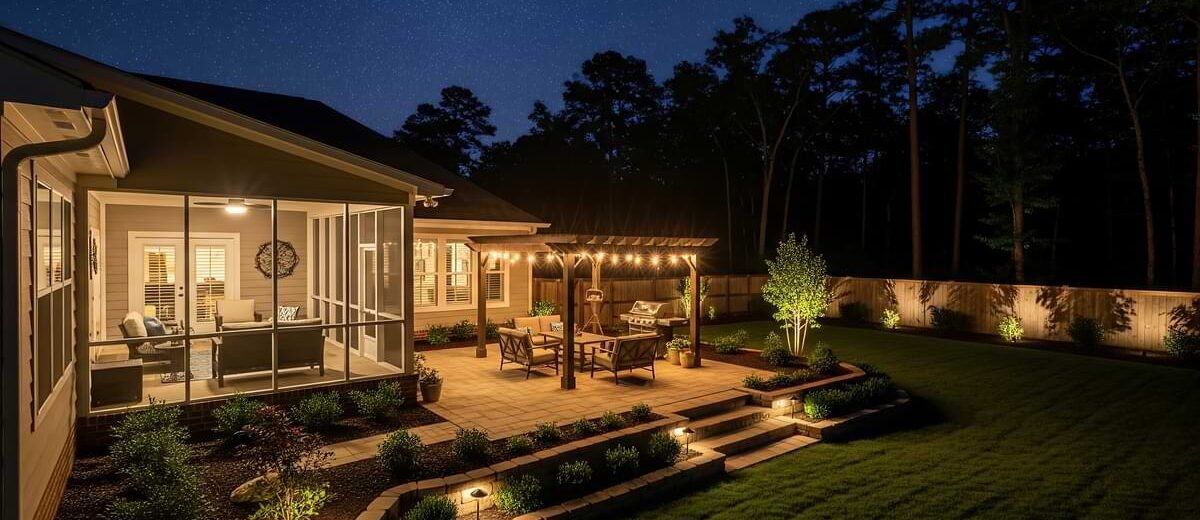
What do you love most about your yard? Identify your favorite aspects of your home or yard such as a pool, a rockscape, an elaborate pilaster, a pergola, or unique statuary.
When and where is security lighting most important? Outline dark or neglected pockets of your yard that could use extra attention.
Where do you live? Not many people realize that location is a headlining factor for landscape lighting planning, particularly for those in coastal environments. Verify that your fixtures and lamps are optimized to deliver clean, uniform light in all weather conditions.
What is your budget? Stopping a lighting project halfway through because you’ve exhausted your allotted dollars can set a new standard for aggravation. Individual fixtures start around $20. Cables run $0.70/foot, and a transformer can be had for about $200. A 10-light system installed by a pro typically costs around $2,000 or $2,500.
Now that you have a better grip of your outdoor lighting needs and expectations, let’s explore what options are available and what tools can be wielded to chart your landscape lighting blueprint.
Landscape Lighting Basics: Crash Course
Low-Voltage Transformer: The brain of your landscape lighting system, a transformer supplies power to your outdoor lights—Consider purchasing a transformer that boasts a greater voltage capability than what your needs entail to ensure additional lights can be easily added at a future date. Voltage drop causes an uneven glow and premature bulb burnout, so planning ahead works to your advantage.
Outdoor Lighting Fixtures: If a transformer is the brain of your outdoor lighting system, the lighting fixture is a part of the body. How that body part relays information received from the transformer—how it acts, reacts, moves, markets—is entirely up to the fixture’s type, style, and durability level you select. Landscape lighting fixtures contain a light source, either an integrated (built-in) LED source or a replaceable lamp. Depending on the type and model, a fixture dictates the direction the light emits, the light’s brightness level, the lighting color, and the amount of area the light covers. Let’s take a look at some common outdoor lighting fixture types to gain a clearer perspective of your landscape lighting requirements.
Landscape Lighting Wire: The low-voltage direct burial wire, arguably the unsung MVP of an outdoor lighting system, connects to the transformer, which delivers power to the fixtures. The wire’s rating correlates to the size of its conductors. Wire connections, or splices, fasten the wires to the fixtures. Selecting properly sized wiring is one of the most important aspects of the design process along with how to connect the wires and fixtures, but we’ll elaborate on that in the next section.
How to Design a Landscape Lighting System
Now that you have an idea of your landscape lighting system ingredients, it’s time to prep the meal.
Step 1: Make a Rough Sketch
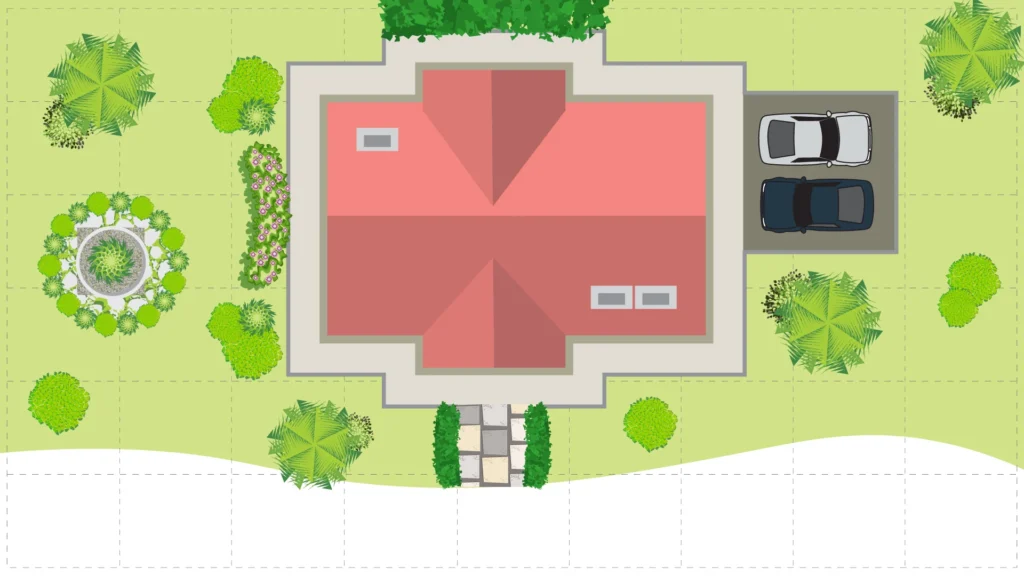
Most professional landscape lighting designers begin their layout by creating a rough sketch of the property on either a blank piece of paper or graph paper, meticulously notating the placement of each fixture. If you’re working with a fairly large property, you will more than likely have to divide the lights into zones so that the transformer(s) can deliver sufficient power to each fixture. If you do have to group the lights into zones, we recommend using a separate piece of paper to sketch out each zone. Since you’ll be using your sketch to help estimate distances between wire runs, it’s crucial that your sketch is as accurate as possible. Attach the sketch to a clipboard to mark easily as you walk your property.
Step 2: Set Fixture Locations

On your sketch, indicate what fixtures will go where. As you walk your property, make rough measurements to identify the distances between fixtures and the transformer as well as between the fixtures themselves. Landscape lighting strategy involves several gaze-grabbing lighting techniques that give your landscape a specifically tailored joie de vivre. Stitching these techniques into your landscape lighting strategy can both attract eyes and deter potential intruders from breaching your property.
Step 3: Set Transformer Location
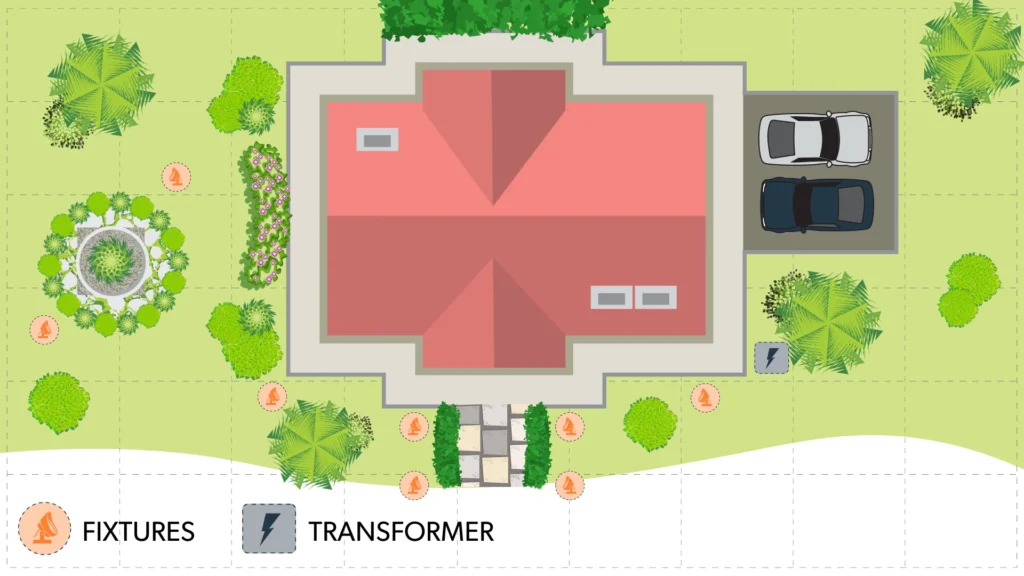
Now that you have the fixtures picked out and placed, double check that you’ve selected an adequate transformer before assigning it a permanent home.
- Calculate the total wattage of your system by summing the bulb or integrated fixture wattages, known as your consumed wattage.
- Confirm the transformer you’ve chosen has a wattage that surpasses the consumed wattage.
- Multiply your chosen transformer’s wattage by 80%. Why not multiply by 100%? Most manufacturers recommend keeping a 20% buffer as maximum capacity. If you are still within the transformer’s capacity, you can still use that transformer. If not, we recommend bumping up to the next transformer size.
As for where to place the transformer, they’re typically attached directly to a residential structure or mounted to a post near the structure, usually about a foot above the ground in either application. In some cases, transformers are located in a home’s basement or garage, but assembling it outdoors is recommended for DIY installations.
Step 4: Set Wiring

As mentioned before, placing the wire is probably the most crucial step to the landscape lighting planning process, so pay close attention. The last thing you want to do is run a single wire from each fixture to the transformer and waste wire as a result of 15 wires from 15 fixtures ending up at the transformer.
It’s essential to calculate the cable gauge and length needed to reach each transformer. Remember: the lower the gauge, the thicker the wire. For longer runs, you’ll want to use wire with a lower gauge to avoid voltage drop. You will need about 100 feet of 12-gauge cable for every 100 watts. To obtain a more exact figure, multiply the amount of wattage per zone by the cable length in feet.
WATTS (per zone) X CABLE LENGTH (in feet) = CABLE GAUGE
For example, if you have 120 watts and 75 feet, that totals 9,000. If the total is less than 10,000, use a 12-gauge cable. If the total falls between 10,001 and 15,000, use a 10-gauge cable or divide the zone into two smaller zones.
Landscape Lighting Wiring Methods
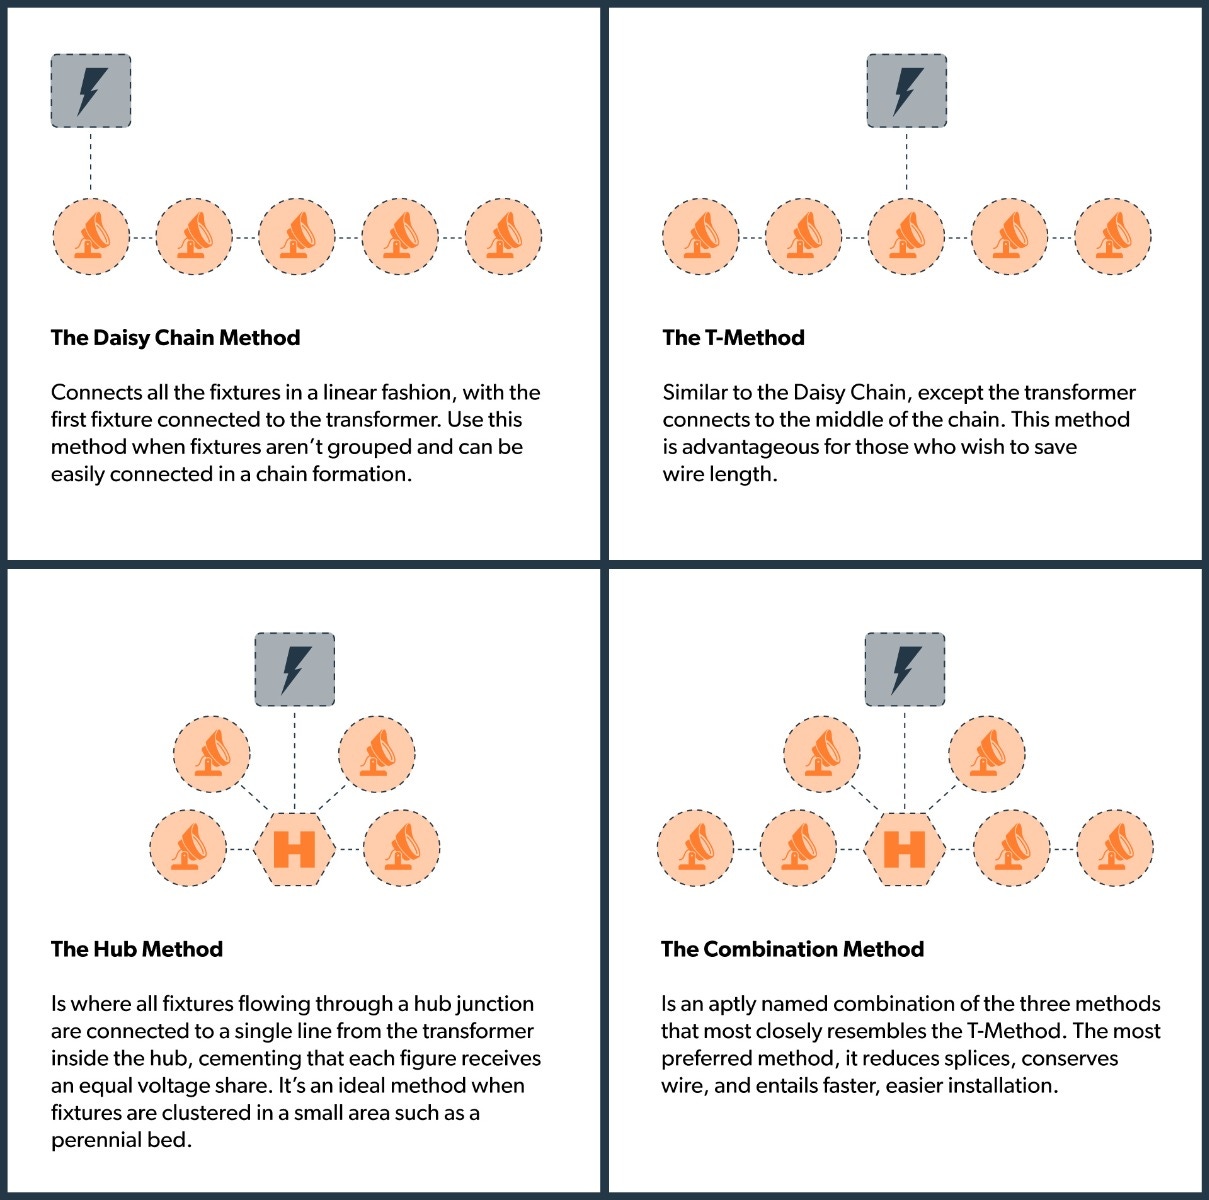
- The Daisy Chain Method connects all the fixtures in a linear fashion, with the first fixture connected to the transformer. Use this method when fixtures aren’t grouped and can be easily connected in a chain formation.
- The T-Method is similar to the Daisy Chain, except the transformer connects to the middle of the chain. This method is advantageous for those who wish to save wire length.
- The Hub Method is where all fixtures flowing through a hub junction are connected to a single line from the transformer inside the hub, cementing that each figure receives an equal voltage share. It’s an ideal method when fixtures are clustered in a small area such as a perennial bed.
- The Combination Method is an aptly named combination of the three methods that most closely resembles the T-Method. The most preferred method, it reduces splices, conserves wire, and entails faster, easier installation.
Think you’ve mastered your landscape lighting design? Let’s translate your vision by installing a landscape lighting system.
Landscape Lighting Design FAQs
The average cost of landscape lighting sits at $3,500, with the usual range between $2,100 and $4,900 when factoring in costs for materials, installation, and labor.
Landscape lighting spacing mostly depends on the size, type, and location of the fixture. Outdoor lighting fixtures should be placed 8 to 6 feet apart for optimal performance and presentation.
You can run 12-gauge wire about 100 ft without voltage drop issues as long as the total wattage of the fixtures on the wire is 100 W or less.