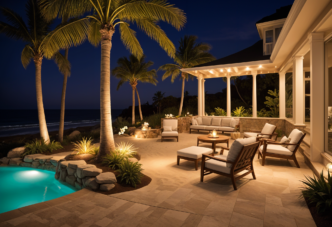
When you install retaining wall lights with the best hardscape lighting options out there, it won’t just give your outdoor space a stunning facelift and a beautiful, new vibe—it’ll also drastically improve the overall safety and function of your landscape lighting setup.
The right hardscape lights can completely transform your garden, patio, or driveway into a beautiful, perfect-lit scene, perfect for special moonlit gatherings or simply enjoying your landscape after dark.
Let’s walk you through the process of adding hardscape lights to a retaining wall, covering everything you need to know, from planning to the final touches.
1. Plan Your Lighting Design
Before you start drilling into your retaining wall, it’s important to plan the layout and design of your hardscape lights. Consider the following factors:
- Purpose: Determine whether your hardscape lights are primarily for appearances, safety, or both. This decision will influence the placement and intensity of the lights.
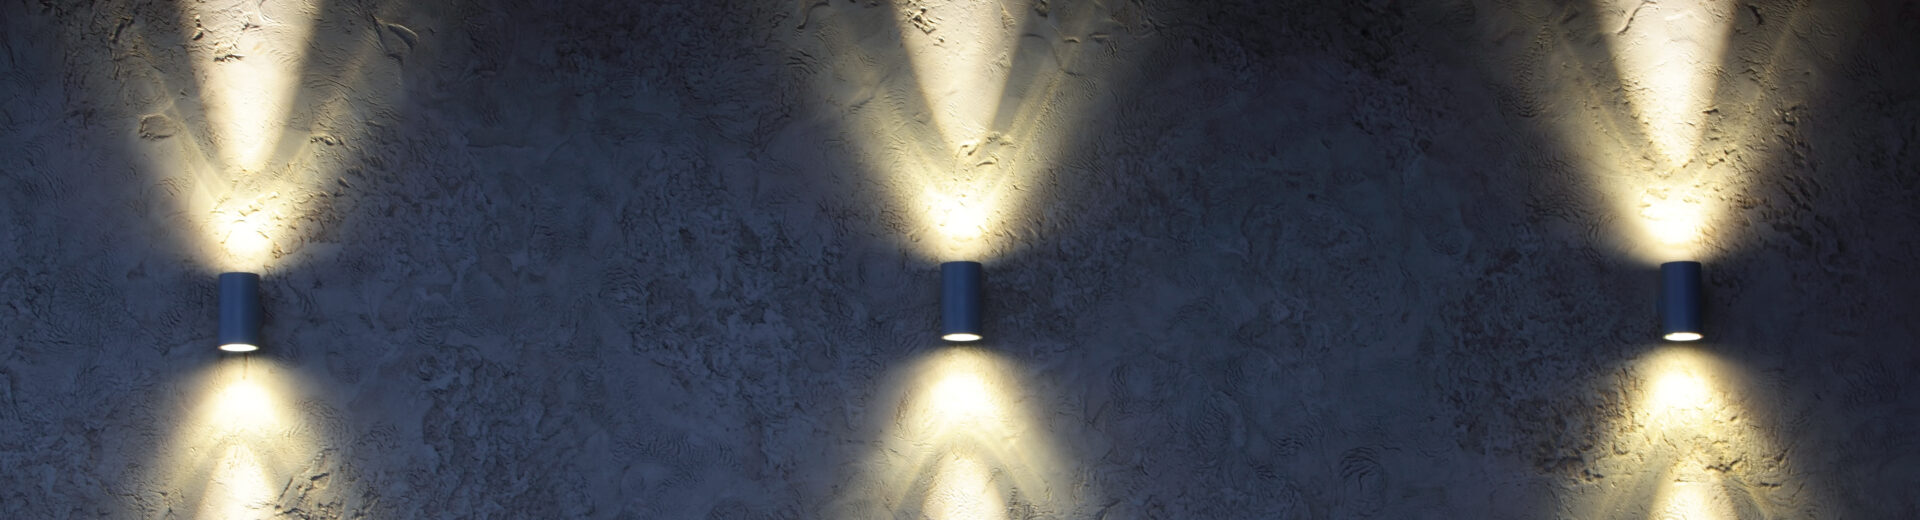
- Spacing: Generally, retaining wall lights should be spaced about 4 to 6 feet apart, depending on the brightness and the effect you want to achieve.
- Power Source: Identify the nearest power source and plan how you will run the wiring from this point to your lights.
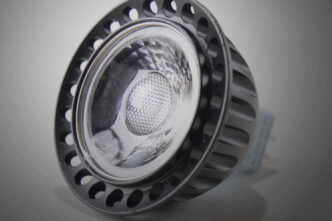
- Lighting Type: Choose the type of hardscape lighting that best suits your needs. LED lights are a popular choice for their energy efficiency and long lifespan.
2. Gather Your Materials
Once you have a plan in place, gather the necessary materials and tools. Here’s what you’ll need:
- Hardscape lights (LED strip lights or paver lights)
- Low-voltage transformer
- 12/2 or 14/2 low-voltage landscape wire
- Wire connectors
- Outdoor-rated wire staples
- Masonry drill bits
- Drill
- Wire strippers
- Level
- Measuring tape
- Screwdriver
3. Prepare the Retaining Wall
Before installing your retaining wall lights, make sure that the retaining wall is clean and completely free of debris. This step is crucial for a secure installation and proper adhesion of the lights. If you don’t properly clean the wall, the lights may not adhere securely, increasing the risk of them falling and breaking over time.
If the wall has any cracks or loose stones, repair them before proceeding.
4. Install the Transformer
The transformer is a critical component of your hardscape lighting system. It converts the household voltage (120V) to a safer low voltage (usually 12V) suitable for outdoor lighting.
- Choose a Location: Install the transformer close to a power outlet, ideally in a sheltered area to protect it from the elements.
- Mount the Transformer: Use the included screws to mount the transformer on a wall or post. Ensure it is at least 1 foot above the ground to avoid any water damage.
- Connect the Transformer: Plug the transformer into the power outlet but keep it turned off for now.
5. Run the Low-Voltage Wire
With the transformer in place, it’s time to run the low-voltage wire along the retaining wall.
- Measure and Cut the Wire: Measure the distance from the transformer to the farthest light fixture and cut the wire to the appropriate length, leaving some extra slack for adjustments.
- Lay the Wire: Start at the transformer and lay the wire along the back or bottom of the retaining wall. Secure the wire with outdoor-rated wire staples, spacing them about every 2 feet.
- Avoid Obstacles: Make sure the wire isn’t pinched or damaged by sharp edges or heavy objects.
6. Drill Holes for the Lights
Depending on the type of hardscape lights you are installing, you may need to drill holes into the retaining wall.
- Mark the Spots: Use a pencil or marker to indicate where each light will be installed.
- Drill the Holes: Use a masonry drill bit to drill holes at the marked spots. The size of the holes will depend on the diameter of the light fixtures or the wiring.
- Clean the Holes: After drilling, clear out any dust or debris from the holes to ensure a secure fit for the lights.
7. Install the Retaining Wall Lights
Now comes the fun part: installing the hardscape lighting into the retaining wall.
- Feed the Wire: Feed the low-voltage wire through the holes you drilled earlier. Leave enough slack for connecting the wires to the lights.
- Connect the Lights: Strip about ½ inch of insulation from the wire ends and connect them to the hardscape lights using wire connectors. Make sure to match the polarity (positive to positive, negative to negative).
- Secure the Lights: Depending on the type of lights, either press them into the drilled holes or use the mounting hardware provided to secure them to the wall.
- Test the Lights: Before fully securing everything, turn on the transformer and test the lights to ensure they are working properly. If any of your lights aren’t functioning, check the connections.
8. Conceal the Wiring
To keep a clean and professional look, it’s important to conceal the wiring.
- Tuck the Wire: Tuck the wire into the crevices between the stones or bricks of the retaining wall. If the situation calls for it, use adhesive clips to keep the wire in place.
- Cover with Soil or Mulch: If the wire runs along the ground, cover it with soil, mulch, or decorative stones to hide it from view.
9. Final Adjustments
Once all the lights are installed and the wiring is concealed, take a step back and assess your work.
- Adjust the Lights: If needed, adjust the angle or positioning of the lights to achieve the desired effect.
- Secure Loose Wires: Make sure all wires are securely fastened and not visible.
- Program the Transformer: Many transformers come with timers or photocells. Set the transformer to automatically turn the lights on and off at your preferred times.
10. Enjoy Your Illuminated Space
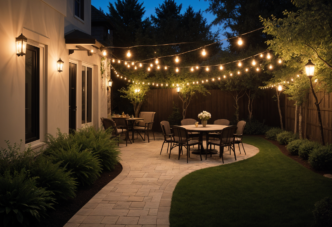
With the installation complete, your retaining wall is now beautifully illuminated, adding both style and safety to your outdoor space.
Whether you’re hosting a backyard barbecue or simply enjoying a quiet evening under the stars, the warm glow of your hardscape lights will enhance the ambiance and functionality of your landscape.
Retainer Wall Lights: Hardscape Lighting Done Right
Installing retaining wall lights with hardscape lighting may seem like a daunting task, but with the right tools, materials, and a little patience, it’s a perfectly manageable DIY project.
Whether you’re a seasoned DIY enthusiast or a first-time installer, the satisfaction of lighting up your outdoor space is well worth the effort.
Join our Insider list and check out the different hardscape lighting options that we have to offer.