

Table of Contents: Iintermatic Light Timer Setup
- How to Program an Intermatic Light Timer Step by Step
- How to Program Intermatic Light Timers for Easy Automatic Lighting Control
- FAQs for How to Program Intermatic Light Timers
How to program Intermatic light timers starts with automating your outdoor lighting, helping your home stay welcoming while reducing energy waste.
Whether you’re installing a new timer or adjusting seasonal schedules, learning how to program an Intermatic light timer ensures that your lights turn on and off exactly when you want them to.
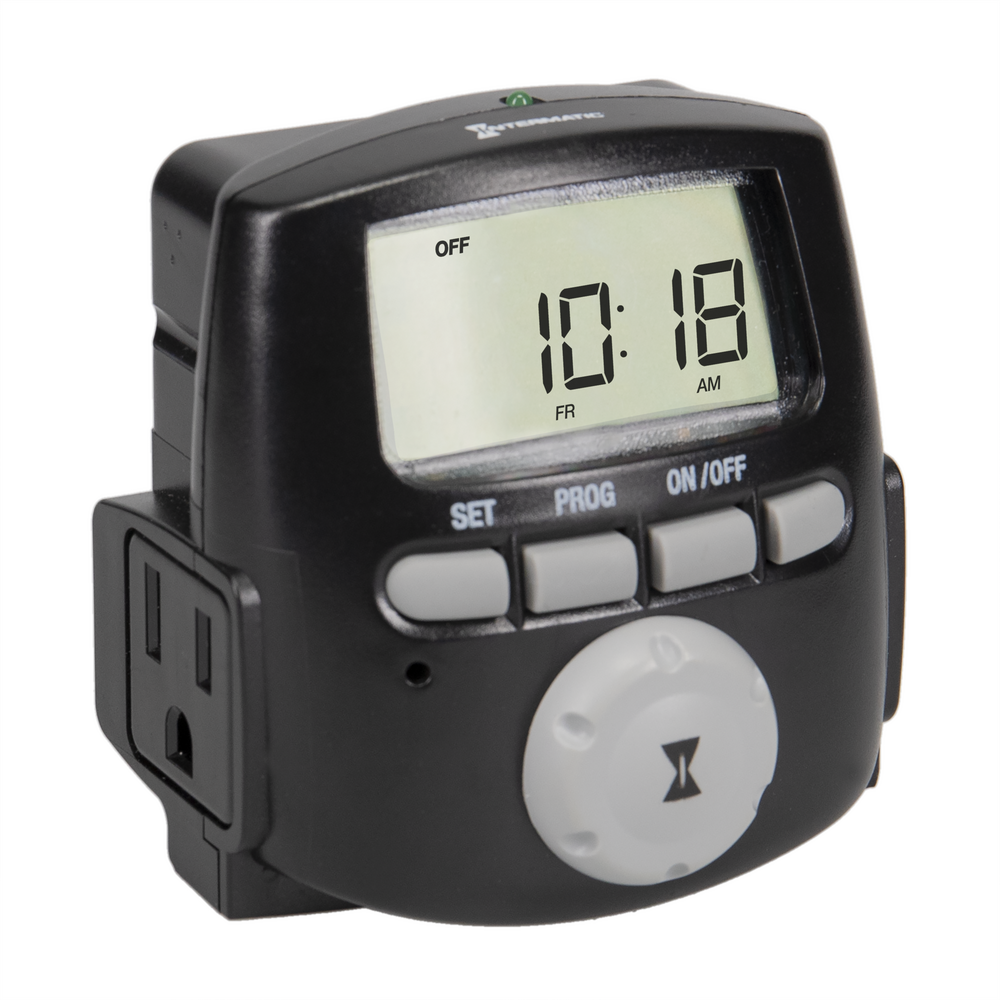
How to Program an Intermatic Light Timer Step by Step
Programming an Intermatic light timer is a straightforward process that improves convenience, saves energy, and keeps your outdoor lighting on a dependable schedule.
Follow these simple steps to learn how to set up, use, and get the most from your Intermatic timer.
1: Learn the Basics Before Programming
Understanding how the timer works makes setup faster and helps avoid common programming mistakes. Most Intermatic timers feature a simple dial or digital interface designed for reliable everyday operation.
- Set the Current Time: Rotate the dial or adjust the digital clock until it matches the current day and time.
- Choose On and Off Times: Program your desired lighting schedule based on when you want the lights to activate and shut off.
- Select Operating Mode: Switch the timer to Auto mode so it automatically follows the programmed schedule.
- Test the Schedule: Allow the timer to complete a cycle or use the manual override to verify proper operation.
2: Choose the Best Places to Use an Intermatic Light Timer
Intermatic timers can automate many types of residential and commercial lighting. Choosing the right location improves convenience, safety, and energy efficiency.
- Landscape Lighting: Schedule pathway lights and garden lights to automatically illuminate after sunset.
- Security Lighting: Turn exterior flood lights on during evening hours to help deter unwanted visitors.
- Holiday Decorations: Control seasonal lighting displays without plugging and unplugging cords every day.
- Patio and Deck Lighting: Create a welcoming outdoor space for entertaining while avoiding wasted electricity.
3: Understand the Benefits of Automatic Lighting
A programmable timer adds convenience while helping your lighting system operate more efficiently. Once you program it, the timer automatically handles your schedule.
- Improved Convenience: Eliminate the need to manually switch outdoor lights on and off each day.
- Energy Savings: Run lights only when needed to reduce unnecessary electrical usage.
- Enhanced Security: Give your home an occupied appearance even when you’re away.
- Reliable Performance: Maintain consistent lighting schedules throughout the week.
4: Install the Timer Properly
Installing an Intermatic timer is straightforward when you follow the manufacturer’s instructions. After the installation process, the programming itself typically only takes only a few minutes.
- Disconnect Power: Turn off the electrical power before you install any hardwired timer.
- Connect Wiring: Match each wire according to the timer’s wiring diagram.
- Mount the Timer: Secure the timer inside the electrical box or enclosure.
- Complete Programming: Set the clock and lighting schedule before you restore automatic operation.
5. Follow These Intermatic Timer Programming Steps
Every Intermatic timer model varies slightly, but the overall setup process is very similar.
This quick chart will give you a general rule of thumb for the typical programming at hand.
| Step | What To Do | Why It Matters |
| 1 | Set the current time | Keeps schedules accurate |
| 2 | Program ON time | Determines when lights activate |
| 3 | Program OFF time | Prevents unnecessary runtime |
| 4 | Select Auto mode | Enables automatic operation |
| 5 | Test operation | Confirms proper programming |
How to Program Intermatic Light Timers for Easy Automatic Lighting Control
Learning how to set a light timer Intermatic takes only a few minutes, but it can provide long-term convenient, consistent and lighting control.
By following your Intermatic light timer instructions, you can automate landscape lighting, improve home security, reduce energy consumption, and enjoy all the perks of your worry-free operation throughout the year.
FAQs for How to Program Intermatic Light Timers
Setting an Intermatic outdoor light timer starts with syncing the current time to the timer’s dial or digital display. Once the clock is accurate, you program the ON and OFF trippers or schedule points for when you want your lights to activate and shut off, then switch the unit to “Auto” mode so it follows the schedule. A quick test cycle helps confirm the settings are working correctly before leaving it to run on its own.
You can identify your Intermatic timer by checking the model number printed on the inside cover, back panel, or near the wiring diagram label. Mechanical timers usually have a round dial with trippers, while digital models have an LCD screen and button-based controls. If you still aren’t sure, compare the layout and wiring style to Intermatic’s instruction sheet or manual.
Resetting an Intermatic timer depends on the model, but most digital versions include a recessed “Reset” button that restores factory settings when pressed with a paperclip or small tool. For mechanical timers, you typically reset by manually removing and repositioning the trippers and then re-setting the current time on the dial. After you reset it, make sure that you reprogram your schedule and switch back to “Auto” mode so that your normal operation resumes.
Join our Insider list and check out the different lighting options that we have to offer.