Table of Contents: How to Clean Outdoor Solar Lights
- How to Clean Solar Lights in 5 Steps
- How to Clean Solar Lights: Cleaning Schedule Chart
- Keep Your Solar Lights Looking Their Best
- FAQs for How to Clean Solar Lights
How to clean solar lights is a question many homeowners ask after noticing their once-bright landscape lighting beginning to fade. Dust, pollen, rain, and seasonal debris gradually collect on solar lights and lenses, reducing charging efficiency and leaving once-bright fixtures looking dim and neglected.
The good news? Restoring their performance is quick and easy, requiring only a few simple steps. Regular cleaning and inspections help extend the life of your solar lights while keeping your landscape bright year-round.
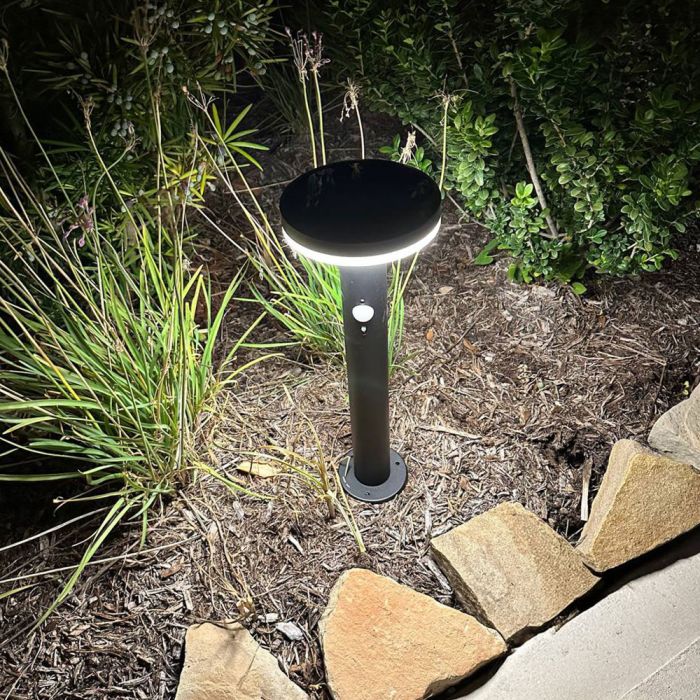
How to Clean Solar Lights in 5 Steps
Outdoor solar lights work hard through rain, dust, pollen, and changing seasons, so regular maintenance helps them perform at their best. A few minutes of cleaning every so often can improve brightness, extend battery life, and keep your landscape looking polished.
- Gather Your Cleaning Supplies
Cleaning solar lights starts with a few simple tools that safely remove dirt without damaging delicate components. Having everything ready before you begin makes the job faster and helps you avoid scratching the light housing or solar light.
a) Soft Cloth: Use a microfiber cloth to wipe away dust, fingerprints, and debris.
b) Mild Soap: Mix a small amount of dish soap with warm water to loosen stubborn grime.
c) Soft Brush: Gently remove dirt from textured surfaces, seams, and decorative details.
d) Clean Water: Rinse away any soap residue so it doesn’t leave streaks on the solar light. - Clean the Solar Light
The solar light collects sunlight that charges the battery, so even a thin layer of dirt can reduce performance. Keeping this surface clean allows the light to absorb as much sunlight as possible.
a) Wipe Gently: Clean the light using a damp microfiber cloth without applying excessive pressure.
b) Remove Stubborn Dirt: Use mild soapy water if pollen, bird droppings, or dried mud won’t wipe away.
c) Dry Completely: Finish with a dry cloth to prevent water spots from reducing light absorption. - Wash the Solar Fixture
The solar fixture itself also benefits from occasional cleaning to maintain its appearance and prevent debris buildup. Dirt around lenses and decorative elements can reduce light output.
a) Clean the Housing: Wipe plastic or metal surfaces with a damp cloth and mild soap.
b) Clear the Lens: Remove dust and residue from the light cover so illumination stays bright.
c) Avoid Harsh Cleaners: Skip abrasive pads, bleach, and strong chemicals that can damage finishes. - Inspect the Battery and Components
Cleaning time is also a great opportunity to check that everything is working properly. Catching small issues early can help prevent future performance problems.
a) Check the Battery: Replace rechargeable batteries if they no longer hold a charge.
b) Inspect for Moisture: Look for water inside the fixture that could affect electrical components.
c) Examine Connections: Make sure battery contacts and wiring remain clean and free of corrosion. - Reposition and Test the Solar Light
Once the light is clean, make sure it can collect enough sunlight each day. Proper placement is just as important as regular maintenance.
a) Place in Direct Sunlight: Position the light where it receives several hours of daily sun.
b) Remove Obstructions: Trim nearby plants or branches that cast shade on the solar light.
c) Test at Night: Confirm the light turns on properly after charging throughout the day.
How to Clean Solar Lights: Cleaning Schedule Chart
A simple maintenance routine keeps your solar lights operating efficiently throughout the year. The schedule below will help prevent dirt buildup before it affects your light’s performance.
| Maintenance Task | Recommended Frequency | Benefit |
| Wipe Solar Light | Every 2-4 Weeks | Maximizes charging efficiency |
| Clean Fixture | Monthly | Maintains brightness and appearance |
| Check Battery | Every 6-12 Months | Helps ensure reliable operation |
| Inspect for Damage | Seasonally | Prevents larger maintenance issues |
| Reposition If Needed | As Seasons Change | Improves daily sun exposure |
Keep Your Solar Lights Looking Their Best
Learning how to clean solar lights is one of the easiest ways to protect your outdoor lighting investment.
With regular cleaning, occasional battery checks, and proper placement, your solar lights can provide dependable illumination and attractive curb appeal season after season.
FAQs for How to Clean Solar Lights
Clean cloudy solar lights by wiping the solar light and light cover with a soft cloth, warm water, and mild soap. For stubborn cloudiness on plastic lenses, gently polish the surface with a non-abrasive cleaner or plastic restoration product designed for outdoor use. Avoid rough scrubbing, which can create scratches that reduce light output.
WD-40 is not recommended for cleaning solar lights because it can leave behind an oily residue that attracts dust and may affect the surface of the solar light or light cover. Instead, use a soft microfiber cloth with mild soap and water to safely remove dirt, pollen, and debris.
The best things to clean solar lights with are a microfiber cloth, warm water, and a small amount of mild dish soap. These supplies are gentle enough to remove buildup from solar lights and fixtures without damaging the surfaces or reducing charging efficiency.
Join our Insider list and check out the different lighting options that we have to offer.