Table of Contents: How to Install an IT2 Smart Transformer
- How to Install IT2 Transformers – Simplified
- Create Your Outdoor Dreamscape with the Alliance Smart Transformer
IT2 Intelligent Transformers are the next evolution in landscape lighting, designed to go beyond simple timers and manual switches. Today’s systems need to look beautiful, adapt to seasonal and lifestyle changes, and offer convenient automation.
Built for this new era, the IT2 Intelligent Transformer streamlines installation, enables remote control, supports zoning, and allows custom scheduling—all without added complexity. Whether you’re a contractor specifying a system or a homeowner upgrading an existing setup, the IT2 delivers intelligent, user-friendly lighting control. What’s even better about this intelligent transformer is that you don’t have to be the most intelligent person out there to install it quickly and correctly.
Let’s cut to the chase and install your new IT2 smart transformer.
How to Install IT2 Transformers – Simplified
The installation workflow for the IT2 Intelligent Transformer is intentionally streamlined: just mount, download, connect, and control.
- Mount the Transformer
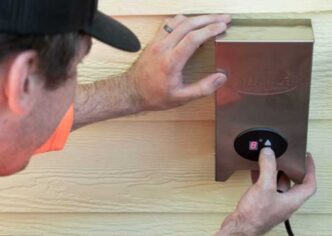
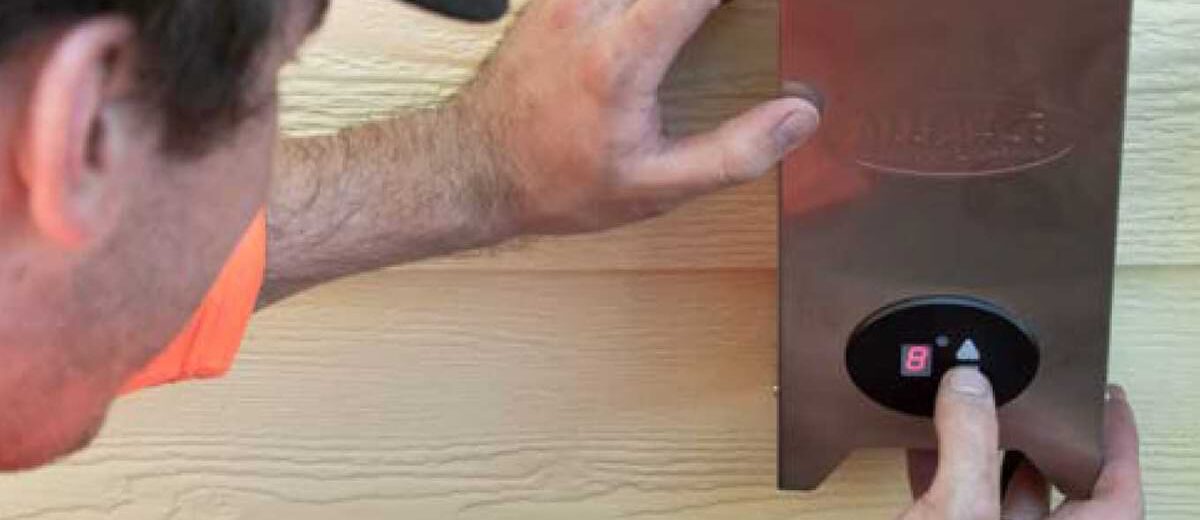
The installation begins just as it would with a traditional low-voltage transformer. The IT2 mounts into a secure outdoor location and connects to the appropriate lighting zones.
Because the unit functions as both the electrical hub and the intelligence center, proper mounting ensures long-term reliability, clean wiring, and easy access for future adjustments or expansions.
Once the transformer is mounted and wired, the system is structurally ready for setup and control features. - Download & Pair Through the itPRO App
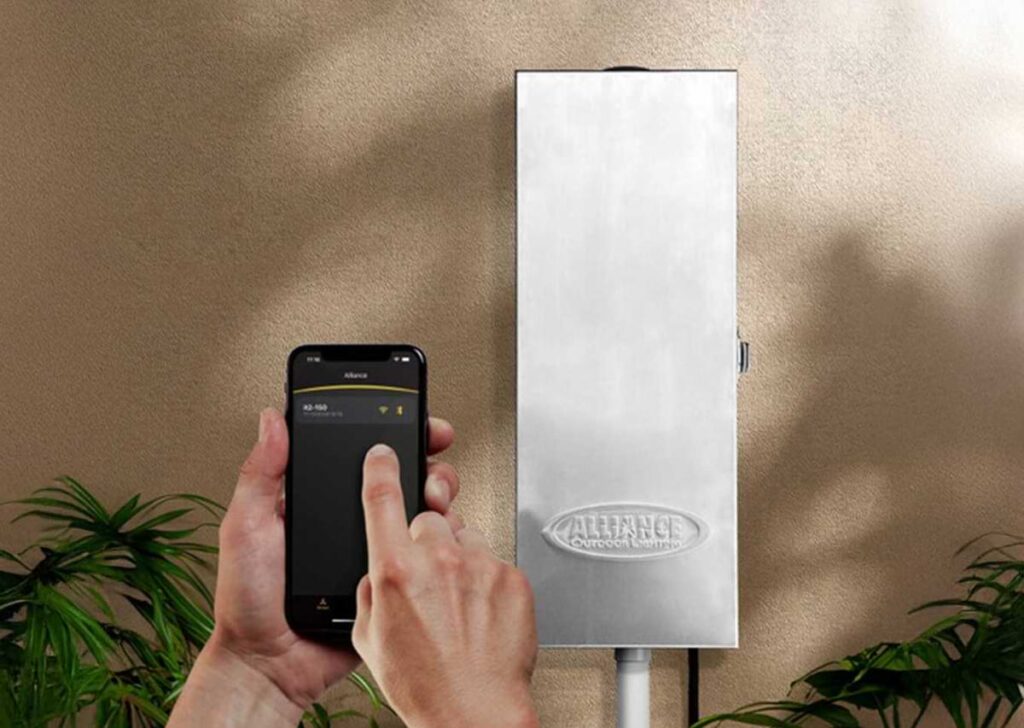
Once mounted, the “smart” portion of the install begins. Users download the itPRO app to establish communication between the transformer and the homeowner’s device.
Pairing the app with the transformer unlocks real-time visibility and interface options that simply aren’t possible with analog hardware.
From this point forward, both installers and homeowners can interact with the system digitally—checking zones, naming devices, or setting schedules without opening the enclosure. - Connect to WiFi
With pairing complete, the unit is connected to WiFi. This step enables the remote control features that set the IT2 apart. Once online, the system can be accessed from anywhere—across the yard, across town, or across the globe—via smartphone.
This connectivity makes lifestyle-driven adjustments easier, allows contractors to troubleshoot remotely, and opens the door for more advanced smart home integrations. - Start Setting up Zones, Programs, and Names
After connectivity is established, customization begins. Installers can pre-configure schedules, zones, and labels during installation, or homeowners can take over once they’re familiar with the interface.
Zoning allows different parts of the landscape to behave independently, custom programs automate daily and seasonal schedules, and device/zone naming brings clarity to long-term operation and maintenance.
Together, these features create a system designed for both personalization and professional longevity.
Create Your Outdoor Dreamscape with the Alliance Smart Transformer
Now that you’ve mastered the setup, it’s time to take your lighting to the next level. Dress your space with personalized color schemes, control different lighting groups, and, honestly, just experiment with the different features and see what you cook up – because it’s your space, your vibe, your opportunity for better. Get inspired with our IT2 Transformer Guide. Happy lighting!